When working with images on a Mac, file sizes can quickly become too large, especially if you’re dealing with high-resolution photos. Whether you need to upload images to a website, share them via email, or save space on your hard drive, reducing image file sizes is crucial. Fortunately, there are several ways to compress an image on a Mac without sacrificing quality. In this guide, we will explore 5 free methods, including using built-in Mac apps, online tools, and free applications, to help you compress images easily.
Built-in App to Compress Images on Mac
The simplest way to compress an image on a Mac is by using the Preview app, which comes pre-installed on all macOS devices. With Preview, you can quickly reduce the file size of your images without needing any additional software.
How to Compress an Image with Preview
- 1. Open the Image in Preview:
- 2. Navigate to Export Options:
- 3. Select File Format:
- 4. Adjust Quality Slider:
- 5. Save the Compressed Image:
Right-click the image file you want to compress and select Open With, then choose Preview. Alternatively, you can double-click the image to open it if Preview is set as your default image viewer.
In the Preview menu at the top of your screen, click File and then select Export. A new window will pop up with export settings.
In the export window, choose your preferred file format (e.g., JPEG, PNG) from the Format drop-down menu. If you’re looking for a smaller file size, JPEG is generally a good option as it offers compression without drastically reducing quality.
Below the format selection, you will find a Quality slider. Moving the slider toward Least will reduce the file size, while moving it toward Best will maintain more image quality but result in a larger file. Find a balance between file size and image quality by adjusting this slider.
Once you’re satisfied with the quality settings, click Save. Your compressed image will be saved in the location you specified.
Using Preview, you can efficiently compress an image on a Mac without needing to download any additional software.
Two Free Online Tools to Compress Images on Mac
If you don’t want to use an app or you’re looking for a quick, hassle-free option, online tools can be a great alternative for compressing images. Here are two free, easy-to-use online services that work seamlessly on Mac.
1. Imagestool
Imagestool is a free online platform that allows you to compress images directly from your browser, making it convenient and accessible without the need for any software installation.

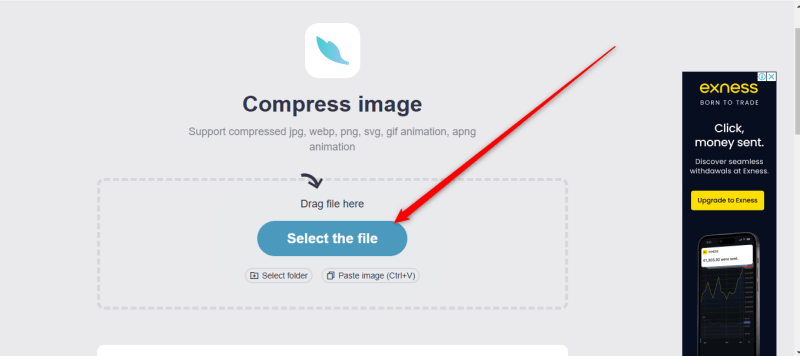
- Go to Imagestool. Click the Upload button on the homepage to choose the image you want to compress from your Mac. You can also drag and drop the image file into the browser window.
- After uploading, you can adjust the compression level based on your needs. Choose a balance between file size reduction and image quality.
- Once the compression process is complete, click “Download” to save the compressed image to your Mac.


2. iLoveIMG
iLoveIMG is another powerful online tool that offers a simple interface for compressing images on Mac. It’s great for batch processing if you have multiple images to compress at once.

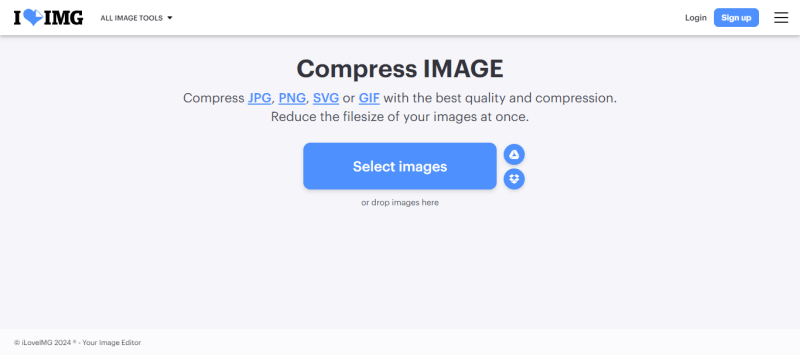
- Go to iLoveIMG. Click the Select Images button to choose the images from your Mac. You can also drag and drop the images directly onto the webpage.
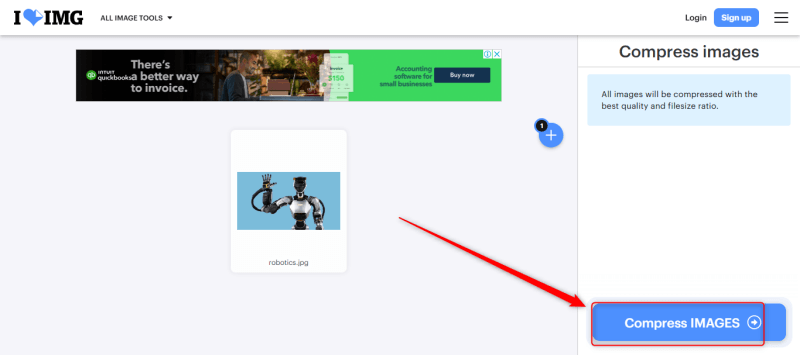
- Once your images are uploaded, simply click the Compress Images button. The tool will automatically reduce the size of your images without requiring further input.
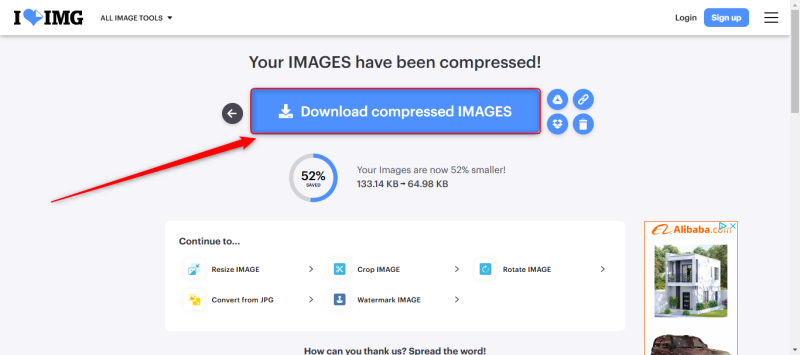
- When the compression process is done, click Download Compressed Images to save them to your Mac. If you upload multiple files, they will be downloaded as a ZIP folder containing all the compressed images.


Both Imagetools and iLoveIMG provide free, online methods to compress images on your Mac, making them ideal for users who prefer a quick, web-based solution.
Two Free Apps to Compress Images on MacBook
If you regularly work with large image files, installing a dedicated app can save you time and effort in the long run. Here are two free Mac apps that make image compression easy and efficient.
1. Assetizr

Assetizr is a user-friendly image optimization tool for Mac that simplifies resizing, compressing, and converting images. Designed for creatives, web developers, and anyone needing streamlined image management, Assetizr allows you to process images individually or in bulk, making it ideal for saving time on large projects. It supports various formats, including JPEG, PNG, and WebP, and offers customizable compression settings to balance file size and quality.
- Launch Assetizr from your Applications folder. Drag the images you want to compress into the Assetizr window.
- Choose your desired settings for compression, including file format and resolution. You can compress images individually or in bulk.
- Once the compression process is complete, save the compressed images to your Mac.
2. ImageOptim

ImageOptim is a free and open-source image compression app for Mac, popular among web developers, photographers, and designers for reducing file sizes without sacrificing quality. It supports various formats, including JPEG, PNG, and GIF, and uses advanced compression algorithms to remove unnecessary data, such as metadata and color profiles. With a straightforward drag-and-drop interface, ImageOptim automatically optimizes images upon import, making it quick and easy to use.
- Launch the app from your Applications folder. Drag the images you want to compress into the ImageOptim window. The app will automatically begin compressing the images as soon as they’re dropped in.
- Once the compression process is finished, the compressed images will automatically replace the originals. However, you can adjust this behavior in the preferences if you want to keep the original files intact.
How to Enhance Image Quality with AI

If you’re looking to not only compress but also enhance the quality of your images, AI-powered tools can be extremely helpful. There is no better example than FliFlik KlearMax for Photo, a cutting-edge software that uses advanced AI algorithms to enhance photo quality by sharpening details, improving colors, and reducing noise.
KlearMax for Photo allows you to compress images while simultaneously improving their visual appeal. By using AI, the tool can enhance your images beyond basic adjustments, making it a perfect solution for those who need high-quality results without manual editing. This tool is especially beneficial for photographers and designers looking to balance file size and image quality.
Conclusion
Compressing images on a Mac doesn’t have to be complicated or expensive. Whether you prefer using built-in Mac features, free online tools, or dedicated apps, there are plenty of ways to reduce image file sizes efficiently. From Preview to tools like Image tools, iLoveIMG, Assetizr, and ImageOptim, each method offers unique advantages depending on your needs. If you’re looking for enhanced quality while compressing images, AI-powered options like FliFlik KlearMax for Photo KlearMax for Photo provide additional value. Now that you know how to compress an image on Mac, you can save space and optimize your images for any purpose without sacrificing quality.
FREE DOWNLOAD
Secure Download
Coming Soon
Secure Download
