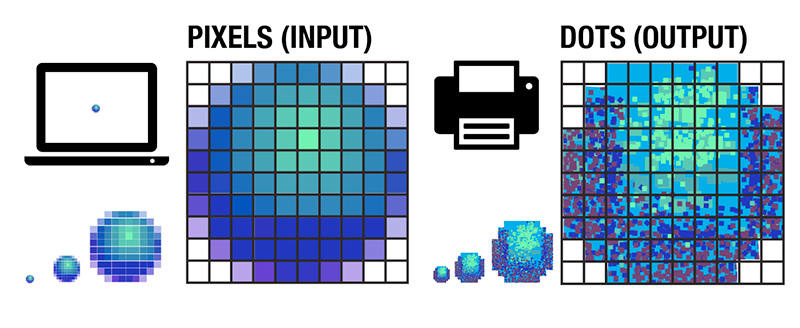
Grasping the distinction between DPI vs PPI is vital for anyone involved with digital images or printing. DPI, or Dots Per Inch, refers to the print resolution and denotes how many ink dots a printer can apply per inch. PPI, or Pixels Per Inch, measures the resolution of an image on digital screens. These metrics are critical for achieving optimal visual quality, affecting clarity, detail, and sharpness across various mediums. Understanding these concepts is essential for both creators and consumers of visual content.
DPI vs. PPI: What’s the Difference?
Learning the difference between DPI and PPI is crucial for anyone working with images. DPI, or Dots Per Inch, refers to the number of ink dots that a printer can produce per inch, impacting the sharpness and quality of printed images. Conversely, PPI, or Pixels Per Inch, measures the resolution of an image displayed on digital screens. Exploring DPI vs pixels and DPI vs resolution helps determine the optimal settings for different mediums. Accurate knowledge of these concepts ensures that digital designs are effectively adapted for both print and screen, maintaining image clarity and detail integrity across various platforms.

When Do You Need to Use DPI?
When you need to use DPI primarily concerns scenarios involving physical prints, such as when designing stationery, book covers, or product packaging. DPI, or dots per inch, measures the resolution in terms of the number of ink dots a printer can produce per inch. This metric is critical to ensure that the printed material appears sharp and clear.
For instance, when creating designs for print, it’s recommended to set the resolution at 300 DPI to maintain high-quality output, which prevents images from appearing pixelated or blurred. This standard applies whether you’re designing business cards, books, or packaging labels. The use of high DPI settings ensures that the finer details of the design are accurately reproduced in the print, which is especially important for materials that require precise graphics and legibility.
How to Increase DPI in Photoshop?
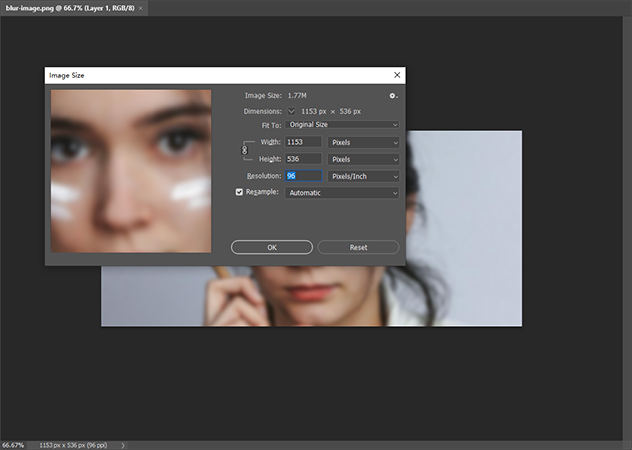
Increasing the DPI in Photoshop is essential when you need high-quality prints, as DPI refers to the number of dots per inch in a print and affects print clarity. The process in Photoshop is straightforward and involves adjusting the image’s resolution through the Image Size dialog box. It’s important to distinguish between resizing an image and changing its DPI, as the former affects the dimensions while the latter impacts how densely these pixels are packed on a physical surface.

To increase DPI in Photoshop:
- Start by opening your image in Photoshop. Navigate to the “File” menu, click “Open”, and select the image file you wish to modify.
- Go to the top menu, click on “Image”, then select “Image Size” to open the Image Size dialog box.
- In the Image Size dialog box, you’ll see a field labeled “Resolution”, where you can type in your desired DPI. Common print-quality DPI is 300.
- To change the DPI without altering the physical size of the image, make sure to uncheck the “Resample” box. This ensures the number of pixels in the image remains the same, altering only the print output size.
- After setting the desired DPI, click “OK” to apply the changes. Save your image by going to “File” > “Save As”, choose your desired location and file format, then click “Save”.
How to Increase DPI of Image without Photoshop
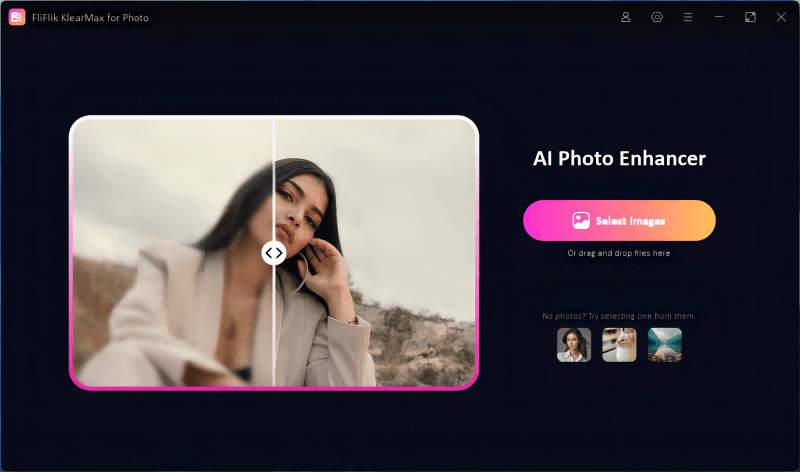
You know the drill that not everyone has access to Photoshop, but enhancing image resolution is still crucial. Enter FliFlik KlearMax for Photo, a versatile tool that offers an alternative with robust features aimed at improving image quality. Whether you’re aiming to increase DPI, unblur images, or simply want a user-friendly photo enhancement solution, KlearMax for Photo provides a compelling option. Let’s introduce this handy tool.

Features
- Test the capabilities of KlearMax for Photo without initial costs, allowing you to try before you buy.
- Designed with simplicity in mind, making it accessible even for those new to photo editing.
- Powerful AI algorithms help to sharpen and clarify images that are blurry or out of focus.
- Enhance the resolution of your images for higher-quality prints and digital displays.
-
Start by downloading the FliFlik KlearMax for Photo and installing it on your computer to start enhancing your images..
FREE DOWNLOADSecure Download
Coming SoonSecure Download
-
Import the photos you wish to enhance. Choose the appropriate AI model for your photo, apply the desired enhancements.
![KlearMax AI Models]()
-
Edit the photo to to fine-tune the enhancement and then click on the “Export” button to save the enhanced photo in your preferred format.
![Export the Images]()
Summary
So, the need to enhance your images’ resolution and understand the difference between dpi vs ppi is crucial for both print and digital displays. KlearMax for Photo offers a straightforward, three-step process to improve your images significantly without Photoshop. With features like unblurring and DPI enhancement, KlearMax for Photo is highly recommended for anyone looking to elevate their photo quality efficiently.
Coming Soon


