When working with images, especially in digital design, you often want to add a specific aesthetic that can evoke a sense of nostalgia or history. One way to achieve this is by applying an old paper texture to your images in Photoshop. This technique gives your work a timeless, vintage feel that can be perfect for certain projects. But before we dive into the process, have you ever wondered how to mirror an image in Photoshop? Mirroring an image can be just as essential in achieving the perfect composition. Let’s explore both these techniques, starting with applying an old paper texture.
What is Old Paper Texture?
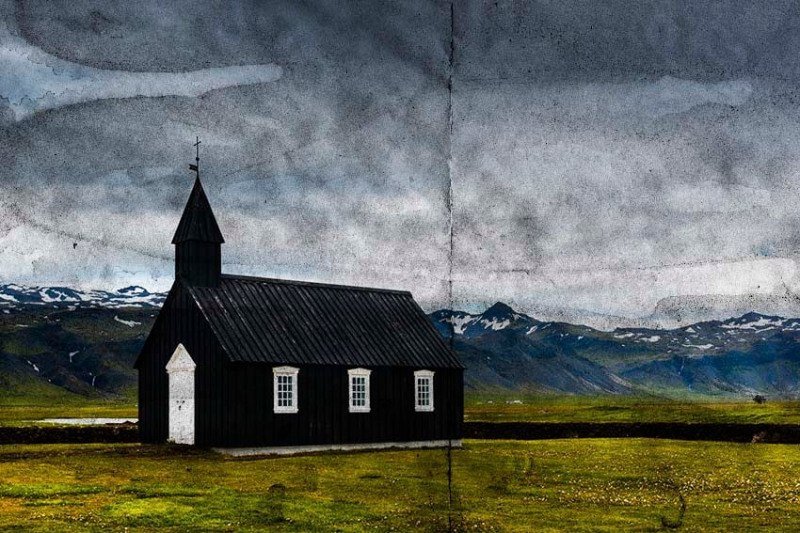
Old paper texture refers to a digital overlay that mimics the look of aged or worn-out paper. This texture can include elements like faded colors, yellowed edges, stains, creases, and even cracks. The purpose of applying such a texture is to give your modern digital designs a retro or vintage appearance, making them look as if they’ve been around for decades.
This effect is particularly popular in graphic design, photo editing, and even in digital scrapbooking, where the goal is to create a sense of history and nostalgia. Designers often use old paper textures in posters, book covers, invitations, and various other visual materials where a touch of the past can add depth and meaning.
Applying an old paper texture can transform a plain image into something unique and captivating, providing a tactile quality that digital work sometimes lacks. Whether you’re looking to recreate the feel of a centuries-old document or just want to add a bit of rustic charm to your project, this technique is incredibly versatile and easy to implement.
How to Apply Old Paper Texture in Photoshop
Before we delve into the steps of applying an old paper texture, it’s important to understand what makes Photoshop the go-to tool for this kind of work.
Photoshop is a powerhouse of digital image editing. It is widely regarded as the industry standard for professionals in graphic design, photography, and digital art. With its vast array of tools and features, Photoshop allows users to perform tasks ranging from simple photo retouching to complex manipulations involving multiple layers and effects. Its versatility and power make it the perfect tool for applying textures, including old paper effects.
Photoshop’s layer system is one of its most powerful features, enabling users to work non-destructively and make adjustments to individual elements without affecting the entire project. This is particularly useful when applying textures, as you can blend the old paper layer seamlessly with your image, adjust the opacity, and even fine-tune the color balance to achieve the desired effect.
-
Step 1: Start by opening the image you want to edit in Photoshop. This could be any image that you want to give a vintage, worn-out look.
-
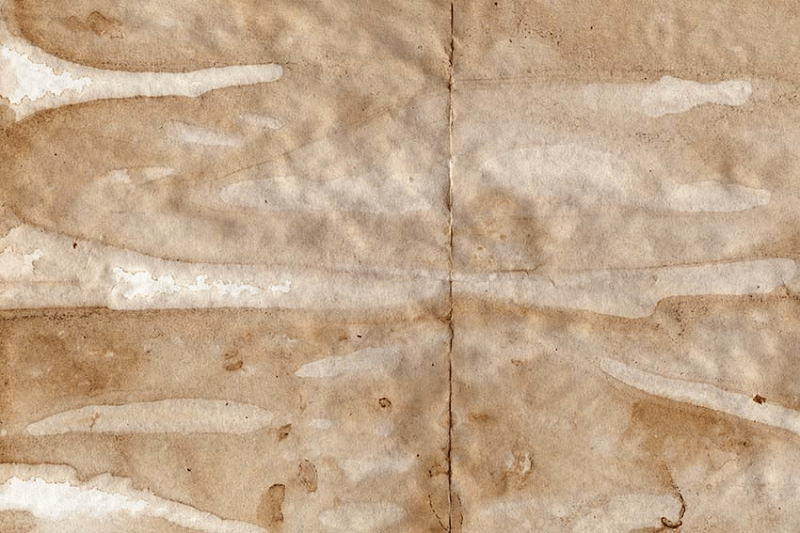
Step 2: You can find free old paper textures online, or you can create your own by scanning an old piece of paper. Once you have your texture, open it in Photoshop.
![Old Paper Texture]()
-
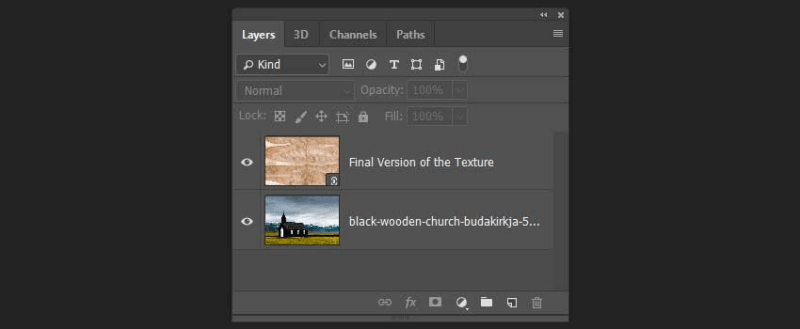
Step 3: With both your image and the texture open in Photoshop, drag the texture onto your main image file. It will automatically create a new layer on top of your original image.
![Old Paper Texture on PS]()
-
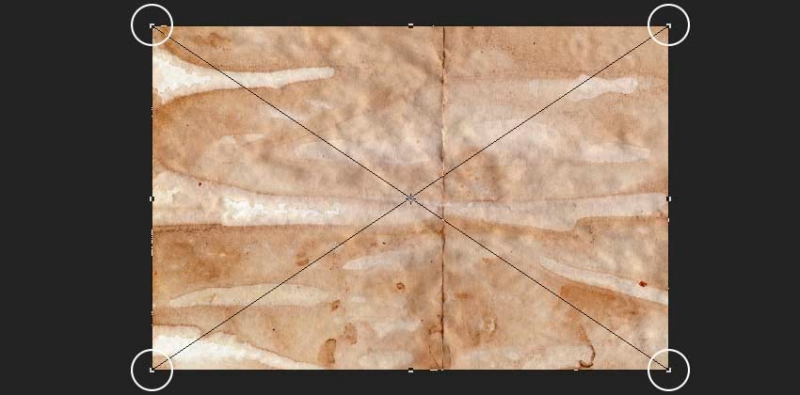
Step 4: Use the Transform tool (Ctrl+T or Command+T on Mac) to resize and position the texture over your image. Ensure that it covers the entire image or the specific area where you want the effect to be applied.
![Apply Old Paper Texture on PS]()
-
Step 5: In the Layers panel, change the blend mode of the texture layer to something that integrates well with your image. Multiply is a good starting point as it typically blends textures smoothly with underlying images. You can also experiment with other blend modes like Overlay or Soft Light depending on the effect you’re going for.
-
Step 6: If the texture appears too strong, adjust the opacity of the texture layer to tone it down. This allows the underlying image to show through more prominently, creating a subtle and realistic old paper effect.
-
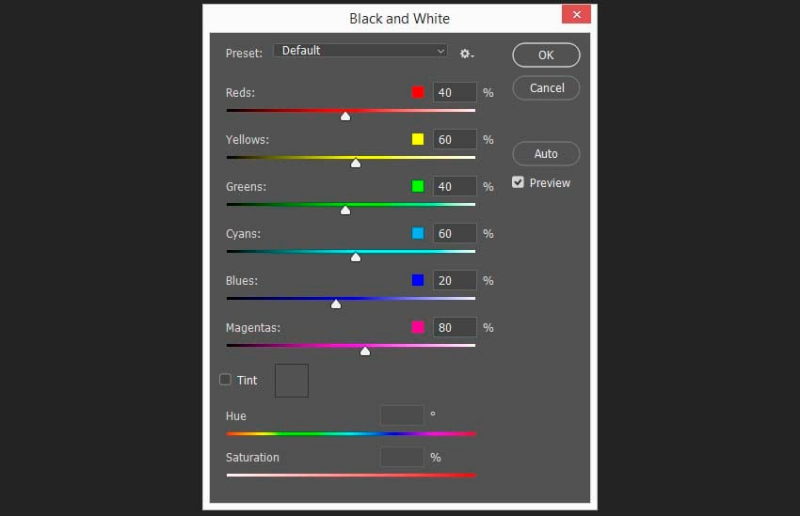
Step 7: Use additional adjustments like levels, curves, or color balance to fine-tune the texture’s appearance. You can also use layer masks to apply the texture selectively to certain areas of your image.
![Final Adjustment on PS]()
-
Step 8: Once you’re satisfied with the effect, you can merge the layers to finalize your image. However, it’s a good practice to keep a copy of the layered file in case you want to make further adjustments later.
![Blend Two Images]()
Bonus-Tips: How to Restore the Old Photo with AI
In the digital age, restoring old photos has become much more accessible, thanks to the power of artificial intelligence (AI). One such tool that has been making waves in the photo restoration field is FliFlik KlearMax for Photo.
FliFlik KlearMax for Photo is an advanced AI-powered tool that specializes in photo restoration. Whether you’re dealing with faded colors, torn edges, or even missing parts of an image, KlearMax for Photo can help breathe new life into old photographs. The tool uses machine learning algorithms to analyze and correct various imperfections in photos, making it easier than ever to restore them to their former glory.
What sets KlearMax for Photo apart is its user-friendly interface and the speed at which it works. With just a few clicks, you can upload an old, damaged photo and watch as the AI processes and restores it, often with remarkable accuracy. The tool is particularly useful for those who may not have advanced Photoshop skills but still want to preserve their treasured memories.
-
Once download the FliFlik KlearMax for Photo on your computer, you can start restoring photos right away.
FREE DOWNLOAD
Secure Download
Coming Soon
Secure Download -
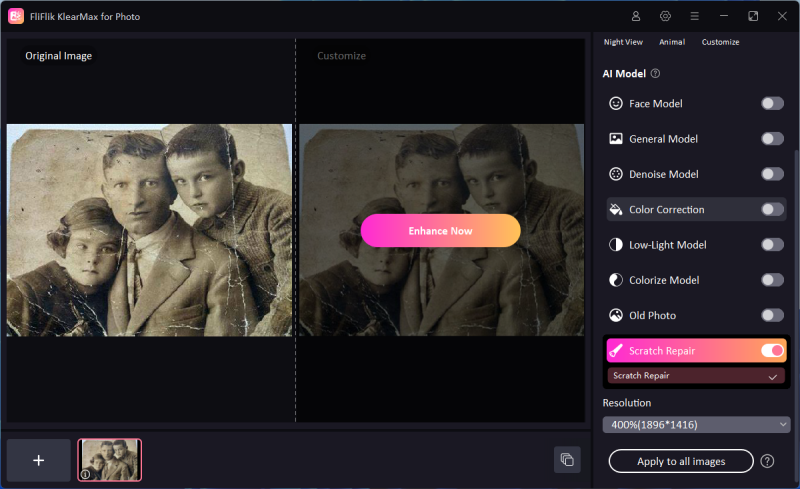
FliFlik offers various restoration options depending on the condition of your photo. You can select AI Models like Color Correction, Face, Noise, Low Light, Scratch Repair , or even enhance the overall resolution of the image. You can use the Scratch Repair Model to restore your old photos. Click the Enhance button to start the restoration.
![KlearMax for Photo Repair Scratch Model]()
-
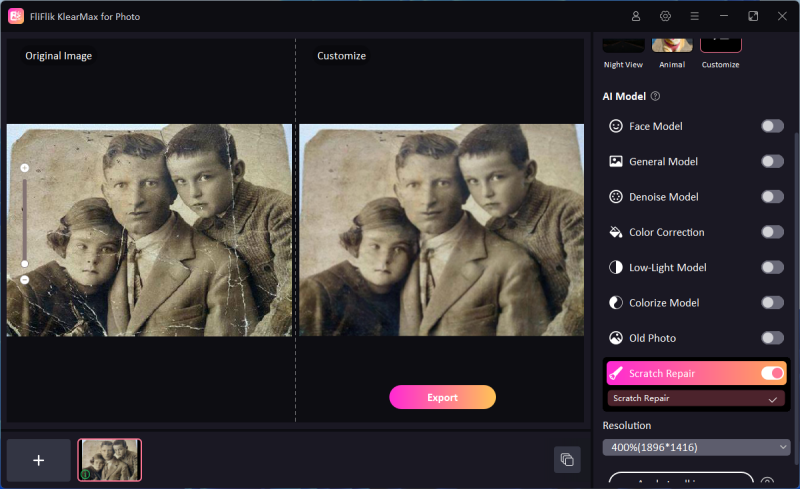
Once you’re satisfied with the restoration, click the Export button to save the image to your computer. You can now enjoy a revitalized version of your old photo.
![Export Repaired Photo]()
Conclusion
Applying an old paper texture in Photoshop is a straightforward process that can dramatically change the look and feel of your images. Whether you’re aiming for a nostalgic vibe or simply want to experiment with different aesthetics, this technique is a valuable addition to your design toolkit. Furthermore, tools like FliFlik Klearmax for Photo make it easier than ever to restore old photos, ensuring that your memories are preserved for future generations. Don’t forget that simple techniques, such as learning how to mirror an image in Photoshop, can also play a crucial role in enhancing your overall design workflow.
FREE DOWNLOAD
Secure Download
Coming Soon
Secure Download
