After clicking the images, you may realize that you’ve clicked the photo with an annoying background. It might also have happened that you’re sending a photo to a person you clicked the photo alongside on a picnic, and you wish to blur your face before sending that photo to the other person.
Can you make a photo blurry? Fortunately, making the photo look blurred is possible, as we’ll introduce amazing ways to help you know how to make a photo blurry.
How to Make a Photo Blurry in Photoshop
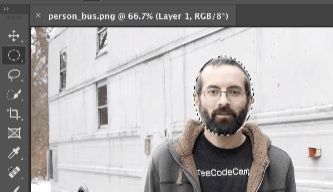
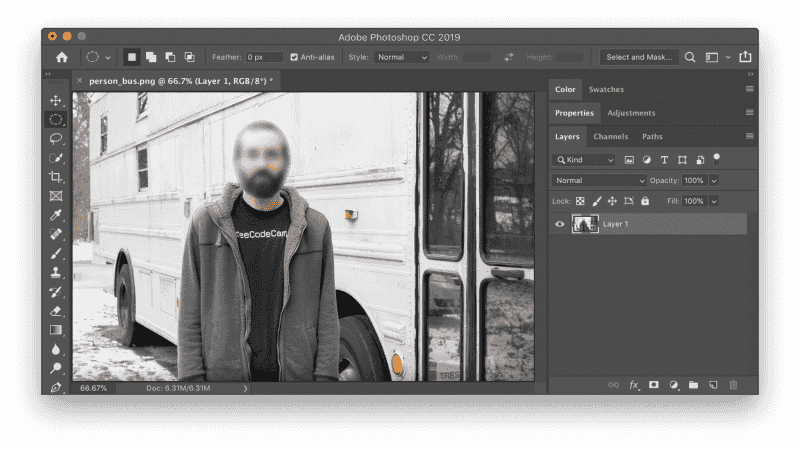
Adobe Photoshop remains one of the most pinnacle photo editing tools to perform the editing operations and when it comes to making the photo look blurred, Adobe Photoshop won’t disappoint you. While adding the blur to the images, Adobe Photoshop doesn’t affect the quality of images.
Click on the Filter button and hit the Blur button. Next, you’ll need to choose the Gaussian Blur to implement the Gaussian Blur. Click on the OK button after choosing the Radius and tap the Deselect icon after hitting the Select button.
How to Blur a Photo Background in Lightroom
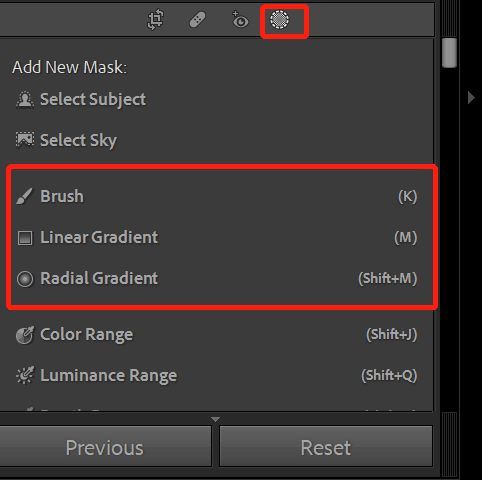
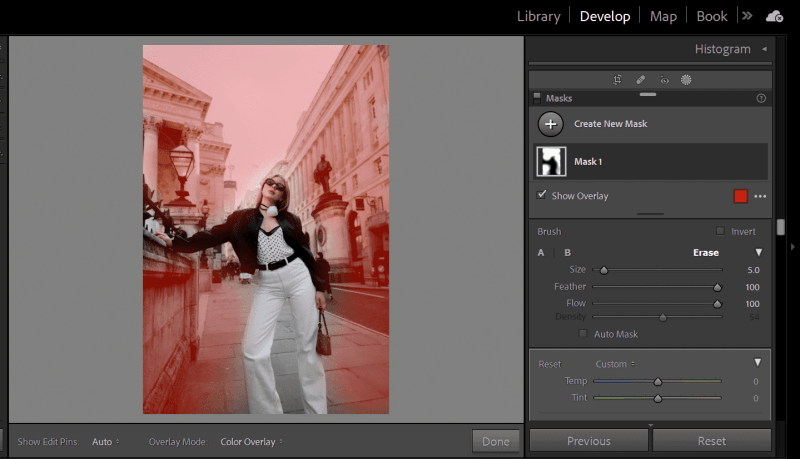
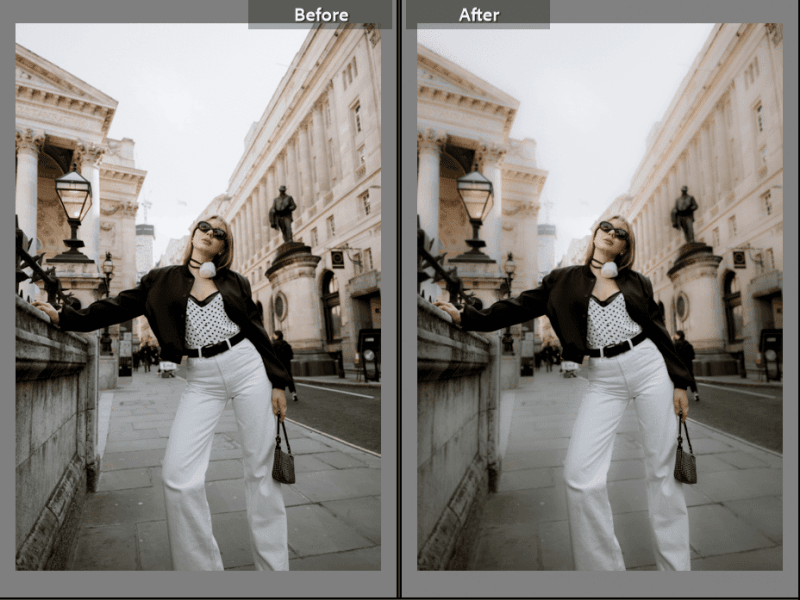
Another way to know how to make a photo look blurry is Lightroom. With Lightroom, you have the leverage to edit the images in various ways, and adding blur to the images is also simple. To apply the blur to the photos, all you have to do is select the Brush Tool.
-
Open Lightroom and select the picture you want to include in the blur. Once the picture has been chosen, you need to choose the Develop Module.
-
Now, you can use the Brushes to blur a photo.
-
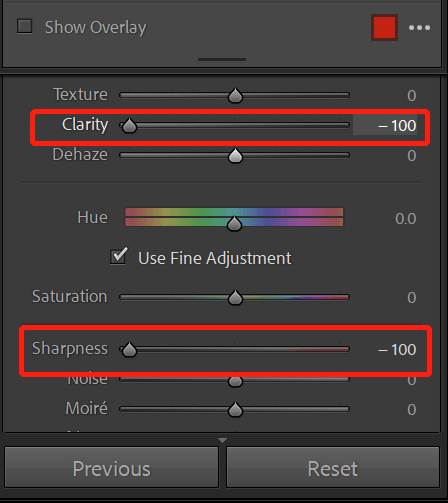
After choosing the Brush tool, you’ll need to tap on the Effect icon and choose Clarity and Sharpness afterward. Proceed ahead by setting both values to -50 and -100.
-
Customize the image’s density, feather, and size to match the part of the photo you wish to blur. Next, you’ll need to apply the brush to the photo’s background, as you must avoid applying it to its subject.
-
Now, you can adjust the settings per your requirements to get the desired results.
Make a Photo Blurry Online with Canva
With Canva, you can add blur to the images without having to install any software on the computer. Canva presents several reliable photo templates for applying the blur effect to images while maintaining their overall resolution and quality.
-
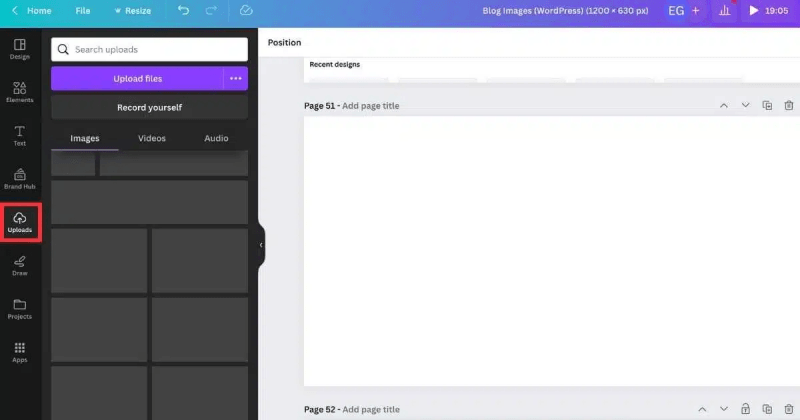
After jumping into the official webpage of Canva, you’ll need to press the Upload button to import the photo you wish to make the blur.
-
Now, you can use the Brushes to blur a photo.
-
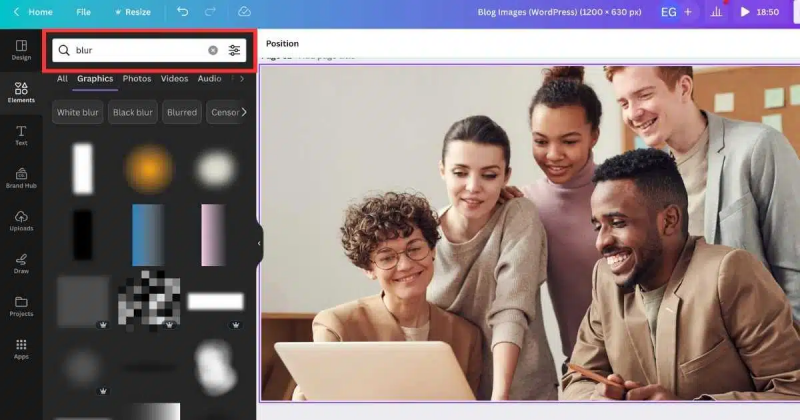
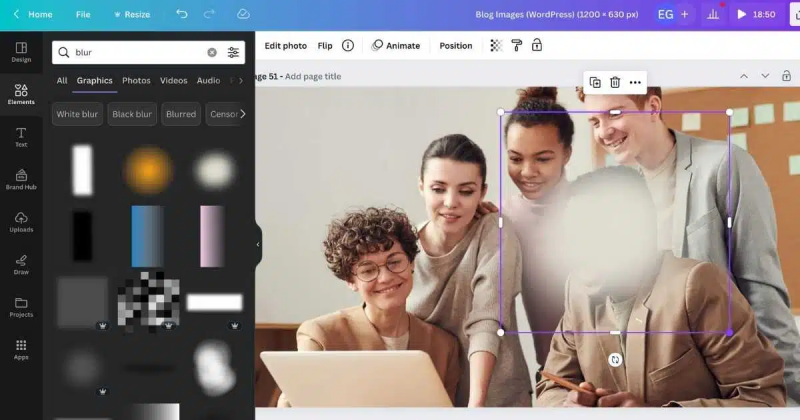
Choose the blur element you wish to go for from the Graphics option. In the next phase, you’ll need to drop the element to the part of the face you wish to blur.
-
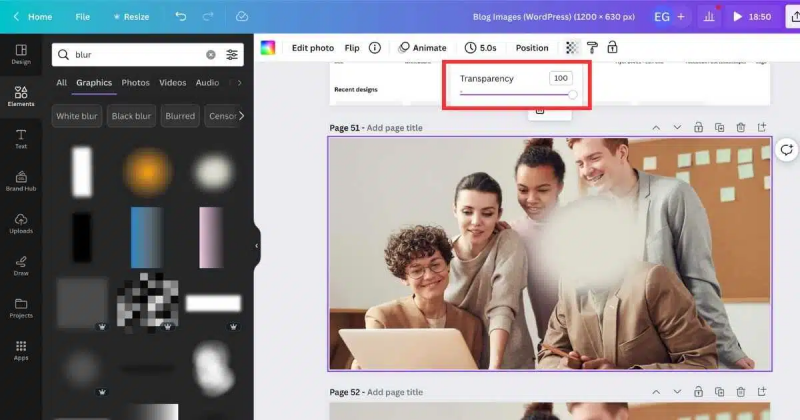
Adding the second blur element or changing the transparency is possible.
Blur the Photo on Mobile with YouCam Perfect
You can also opt for the mobile app to blur the unnecessary parts of the images. The quality of the photographs that support iOS and Android smartphones is unaffected by the addition of blur.
-
Visit the Play Store or App Store and install the YouCam Perfect afterward. In the next phase, you must start the YouCam Perfect afterward.
-
After capturing the image, you’ll need to launch the Edit button and select the Tools and Blur buttons afterward.
-
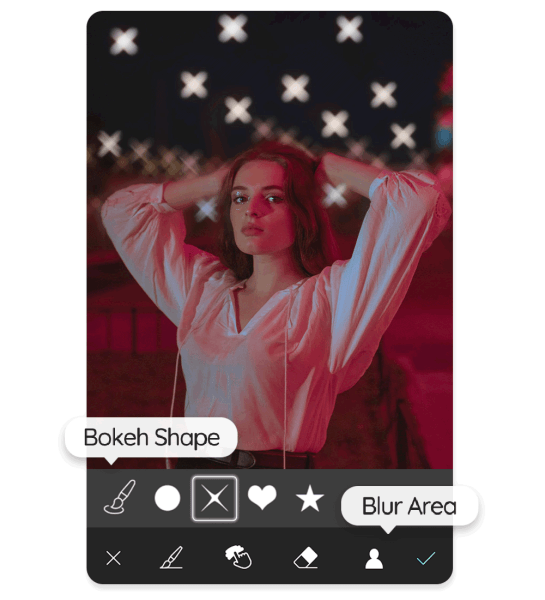
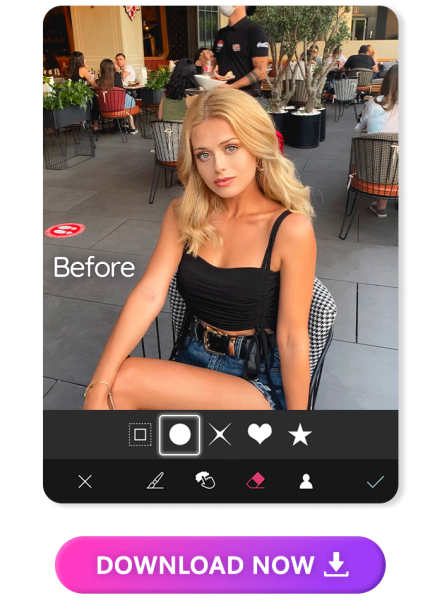
After getting into the blur effect, you’ll need to select the outline’s shape you wish to rely upon to shape your blur effect. Circle shape offers the round centered shape, and you can access the long oval shape through an ellipse, which is perfect for selfies and images.
-
Use the eraser to choose the desired area of the picture to blur in order to blur the backdrop of an image.
-
After blurring the images, you can download the photos on Android.
How to Remove the Blur from Images with One Click
After adding the blur to the images, you want to get rid of it as this has made the photo look irrelevant, you can opt for the FliFlik KlearMax for Photo. It is a remarkable photo enhancing tool that lets you dismantle the blur from the images without affecting the overall quality of images.
On top of that, FliFlik KlearMax for Photo also empowers you to change the resolution of the images. Since FliFlik KlearMax for Photo offers 8 stunning AI models, enhancing the image quality for different use is also possible. Here’s how to eliminate the blur from the images with FliFlik KlearMax for Photo:
-
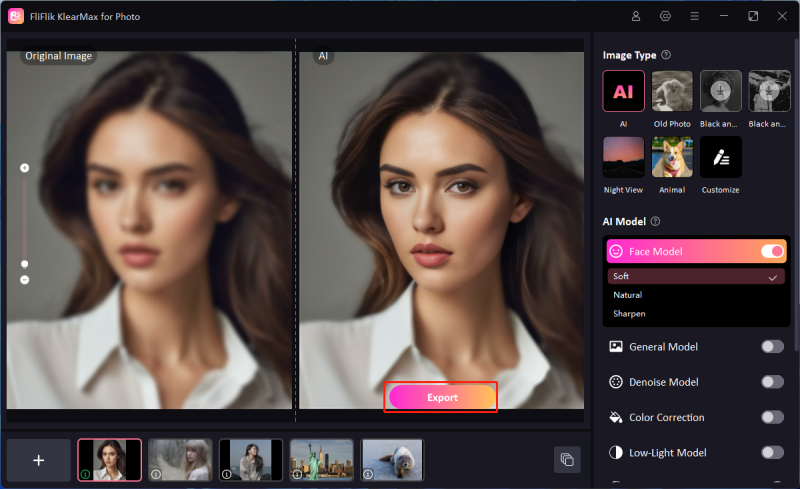
After getting the FliFlik KlearMax for Photo installed in the computer, you’ll need to start the program and import the photo afterwards. Since the software supports the batch processing, you’ve got the chance to import the multiple images simulataneosly.
-
Now, you can tap on the Face Model, as it enables you to rip apart the blur from the images. You can start dismantling the blur from the images by hitting the Enhance Now button.
-
After applying the face Model and eliminating the annoying blur from the images, you must review the changes. Upon being satisfied with the results, you can hit the Export button to download the images.
Summary
If you want to hide the background of an image or wish to blur the face in a photo for various reasons, you can take notes from this guide to learn how to make a photo blurry. We have listed some sensational ways to make the photos look blurred through the most reliable methods that won’t affect the overall quality of the images. With FliFlik KlearMax for Photo, the best photo quality enhancer on the market, you can get better pictures. It asks simple questions of users and lets you remove blur from several photographs at once.
Ivan Davis
Hey everyone! I'm Ivan Davis, and I'm passionate about using AI to streamline my workflow in the voice changer industry. So excited to empower users by changing the voice to any voice they want!

Recent stories by Ivan Davis:
![PS Blur Face]()
