Putting the watermark on the image can prevent it from getting used by unauthorized people. However, sometimes you may want to remove the watermark from the images as the watermarks are making the images deplorable and unwatchable.
One of the best ways to rip apart the images is GIMP remove watermark. Dive into this guide to learn how to remove a watermark in GIMP.
Part 1. Remove Watermark in GIMP with 3 Methods
GIMP is a fascinating photo editing tool that is used in retouching the images and helps you to alter the composition and authoring of the photos. Look at the three mesmerizing ways to remove the watermark from the images through GIMP.
Gimp Watermark Remover 1: Clone Tool
You can opt for the GIMP watermark removal in several ways, but using the Clone tool is one of the best ways to remove watermark in GIMP.
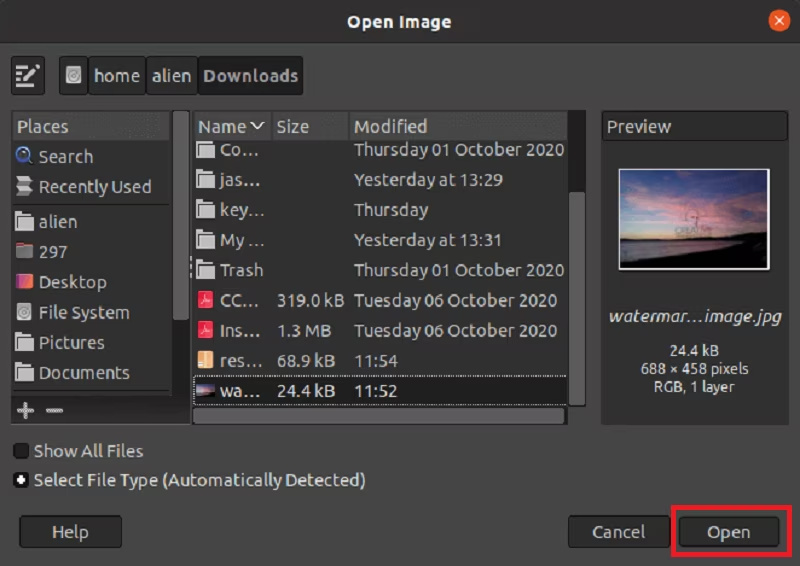
Start the GIMP into the web browser and click on the Open button to upload the photo into the computer. To open the uploaded photo in the photo editor, you’ll need to press the Open button again.
![gimp remove watermark]()
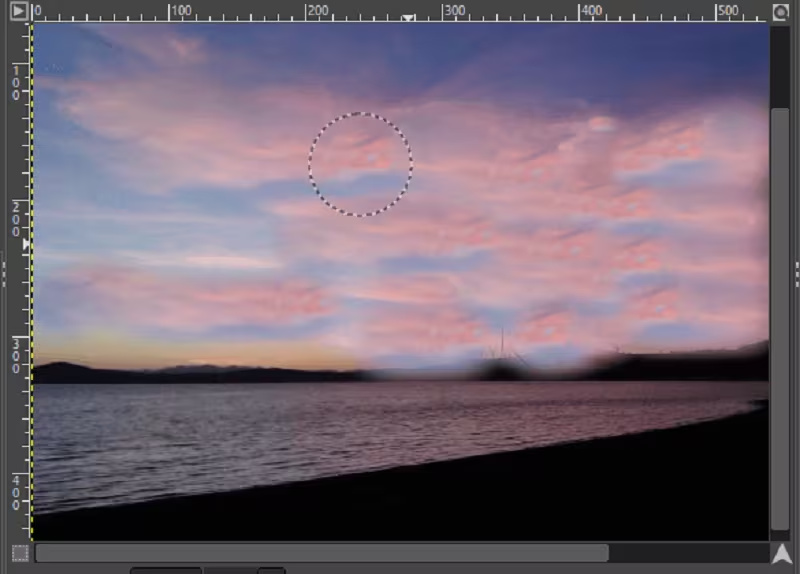
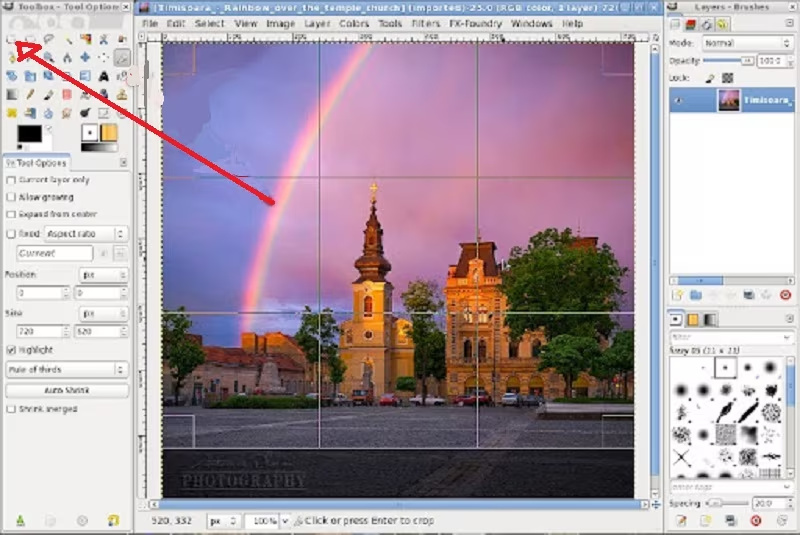
- Choose the clone tool, navigate to the Tools button, and press the Paint Tools icon. Hit the clone option, and you can also choose the letter C. Once you can see the clone tool appearing there, you’ll need to choose a similar region from the images you can paste over your watermark. After holding the Ctrl key, you must press the particular area to copy your particular region.
![gimp watermark remover]()
- Once you’ve copied the region, you must paint over your same watermark. After leaving the Ctrl key, you’ll need to slide the cursor over your region just like you slide your brush. You can now repeat the cloning process by choosing multiple areas and repeating step 2 again.
![remove watermark gimp]()
- Zoom your photo and set your brush size for a clear and improved GIMP watermark removal technique. Once you remove the watermark, you can save the images to the computer.
Gimp Watermark Remover 2: Resynthesizer plugin
Apart from using the clone tool on GIMP, you can also rely on the other tool to remove the watermark. Advanced Photoshop prompts the built-in automatic watermark removal, too, but you can’t access the tools in the GIMP. Hence, you must install the plugins to rattle the images’ watermarks.
Resynthesizer is the best plugin in the GIMP that comes up with wide filters and tools. Tools and filters aren’t built-in by default, but you can download the synthesizer for free.
Here’s how to remove the watermark in GIMP through the Resynthesizer plugin.
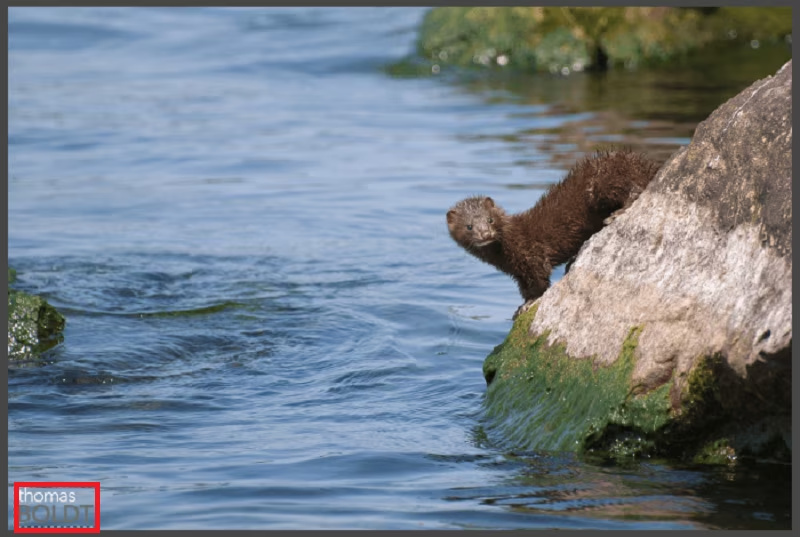
- Decide your selection tool and choose the watermark you want to eliminate. You can rely upon the scissor or free select tool to make the watermarked area or cover all the watermarked parts.
![remove watermark in gimp]()
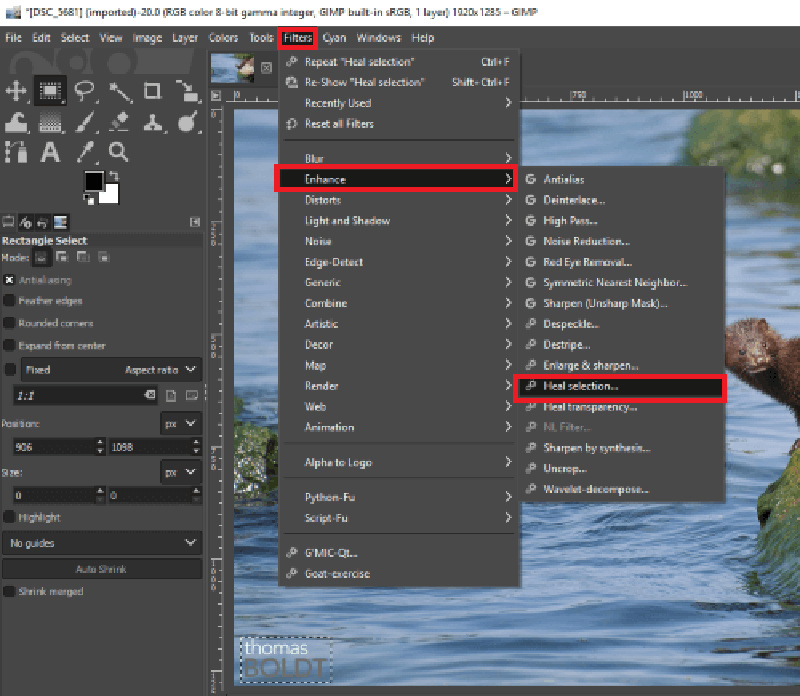
- After choosing the selection, you must click on the Filter button and select the Enhance. You can see the tools list and press the ”Heal Selection” to proceed.
![gimp watermark removal]()
- When you press the ”Heal Selection” button, you can see the drop box asking you to process healing. Next, you’ll need to mention the pixels before choosing the area from where your plugin could take the sample. Once you’re done filling in the requisite details, you must press the OK button.
![gimp how to remove watermark]()
- Once the watermark is removed from the images, press the Save button to export it on the PC.
![gimp remove watermark from image]()
Gimp Watermark Remover 3: Images having Layers
You can also opt for GIMP to remove the watermark from the image courtesy of the images having layers. Here’s his to remove watermark GIMP via having layers.
Press the Ctrl+O to launch the image and press the Open icon to launch the images in GIMP.
Press the watermark layer or choose it by using the selection tool.
![how to remove a watermark in gimp]()
Click on the Delete icon to eliminate the watermark layer from your image. Next, you export the image on the computer to start using it.
![how to remove a watermark with gimp]()
Part 2: Best GIMP watermark Remover Alternative
If you don’t want to lose the image quality while eliminating the watermark from the images, you can look at the KleanOut for Photo, which is the best alternative to the GIMP. With this tool, you can rip apart the watermark or other objects from the images with a few clicks.

From allowing you to dismantle the image background automatically, FliFlik Watermark Remover also lets you manually erase the image background.
Features
- Allows you to remove the text, logo, location, and date stamp from the images
- Comes up with a simple user interface
- Supports the various image formats
- Allows you to eliminate the image watermark manually or automatically
Here’s how to remove the watermark from the images.
After installing KleanOut for Photo, click the “Remove Watermark from Image” button.
FREE DOWNLOADSecure Download
FREE DOWNLOADSecure Download
Upload the photo you’d like to eliminate the watermark from.
FliFlik Watermark Remover allows you to eliminate the image watermark in three ways. Rect Tool enables you to manage regular white graphics like square or rectangular watermarks. Once you’ve selected the area you’d like to erase, you must confirm the area selection before choosing the Remove button.
![kleanout for photo remove watermark]()
Download the edited image by hitting the Export button.
![export image with watermark removed kleanout for photo]()
Summary
Going for the GIMP remove watermark can assist you in ripping apart the unwanted and annoying watermark from the images. We have listed the three brilliant ways to learn how to remove a watermark in GIMP courtesy of the three breathtaking methods.
If you don’t like using the GIMP due to various reasons, KleanOut for Photo emerges as the best alternative to the GIMP watermark remove. It empowers you to get rid of the photo watermark without affecting the quality of the images.
