How to remove watermark when using FliFlik? Explore the detailed guide and instantly solve your problem. Should you have any inquiries, please don’t hesitate to reach out to us.
Once you have successfully downloaded FliFlick Watermark Remover, simply open it and click “Remove Watermark from Image”.
Import the image you want to remove watermark.
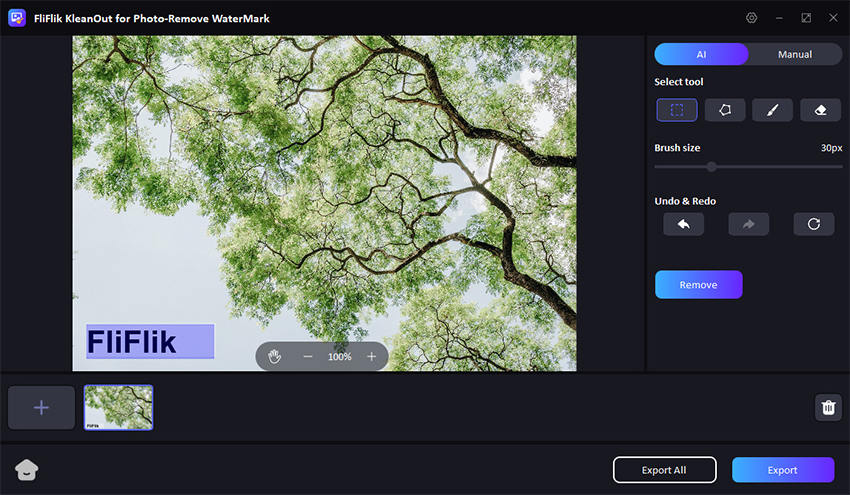
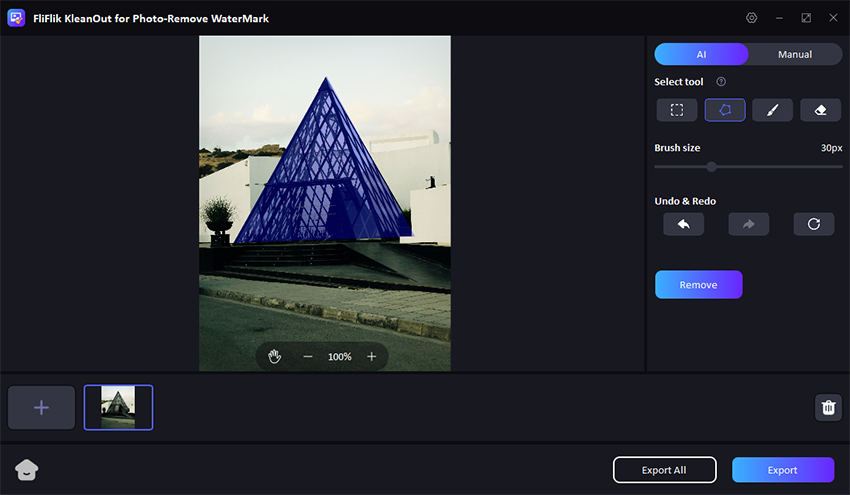
Here’re 3 kinds of remover tools you can utilize.
The Rect Tool helps to handle watermark which is regular graphic form like rectangle or square. After you have selected the area you want to erase, right-click to confirm the area selection and choose “Remove” button.
As for the other shapes, Polygonal Lasso Tool will be more helpful.
And the Brush & Eraser Tool can make you freely adjust the removal coverage. This flexibility is especially handy for eliminating objects in complex scenes.
You can also remove the watermark manually. Here’re 3 remove models you can make use of.
Texture Repair: Analyze small repairable sections within a specific range, then integrate them into the selected area to eliminate the watermark. This process operates at a slower pace and is suitable for images with diverse color blends.
Edge Filling: Utilize the selection’s edge pixel to fill the watermark from the exterior to the interior. This process operates with high speed and efficiency.
Smooth Filling: Fill the watermark with the color around the picture, ensuring a seamless transition horizontally and vertically. This method is particularly efficient for images with single color.
FliFlik will instantly remove the watermark in seconds and you could click ” Export” or “Export All” to save your image(s).
Tips: You can import multiple photos (up to 20) to batch process and export all images.

