Screen recording on your Chromebook is not only convenient, it’s necessary to record lessons, gameplay, tutorials, or even video calls with audio. The problem is that not all Chromebook users know how to screen record on a Chromebook with audio, and the method varies depending on the tool you use.
In this article, we will show you several methods to screen record on a Chromebook with audio. These include using the built-in feature, browser extensions, and, as a bonus, a great tool for downloading YouTube videos directly to your Chromebook.

Part 1: Screen Record on Chromebook with audio Using Built-in Tools
Chromebooks come with built-in screen recording features that make capturing videos with audio quick and easy with no need for extra software. In this section, we’ll cover three native methods to screen record on Chromebook with audio.
Solution 1. Using a keyboard shortcut
The fastest method to begin screen recording on a Chromebook is using a keyboard shortcut. The screen capture tool will show up immediately after you press the shortcut keys, which enable screen recording with audio.
▼ Steps to Screen Record with Keyboard Shortcut (with Audio):
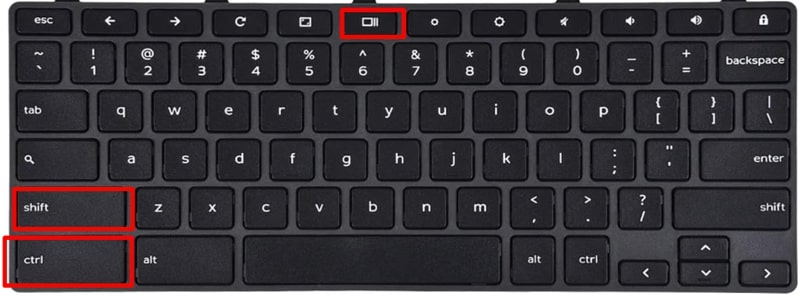
Step 1: Press Shift + Ctrl + Show Windows (key with rectangle and two lines) to open the Screen Capture toolbar.
Step 2: Click on the video icon on the toolbar to enable recording mode.
Step 3: Select your recording mode:
- Full Screen
- Partial Screen, you can drag to select the area you want to record.
- Specific Window: You can pick a particular window.
Step 4: Click the Record button to start recording. A short countdown will be shown.
Step 5: Click on the red Stop button at the bottom-right corner of your screen when you’re done.
Step 6: Your recorded video can be found in your Downloads folder.
Solution 2. Using the Screen Capture feature
On Chromebooks with OS 89 and later, Screen Capture is a built-in tool that provides a fast and simple way to record your screen (with sound) without requiring additional apps.
▼ Steps to Use Screen Capture Chromebook Screen with Audio:
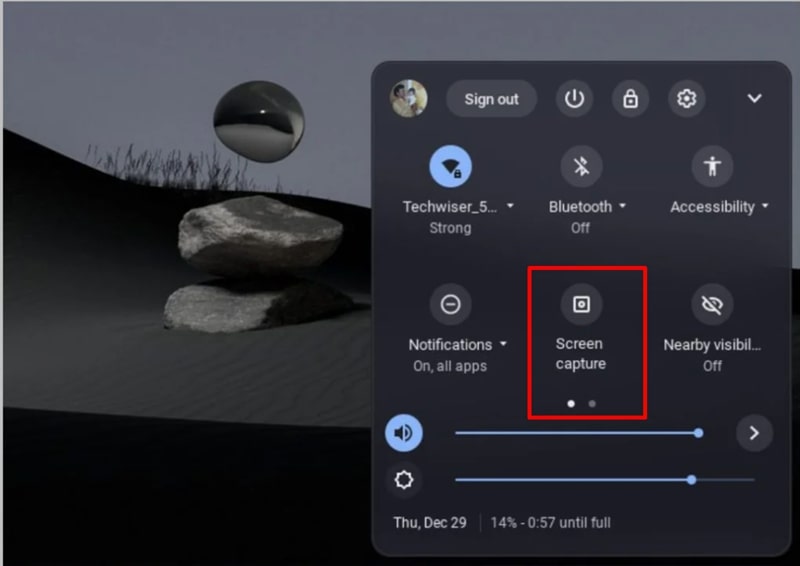
Step 1: Open the Quick Settings panel by tapping the clock icon at the bottom right of the screen.
Step 2: Tap Screen Capture at the bottom of the panel.
Step 3: Select what you want to record: the whole screen, a single window or a custom area.

Step 4: Configure your recording settings, and make sure the Microphone is on if you want to record
Step 5: Click the Record button.
Step 6: Click the red Stop button when you are done.
Step 7: Your recording is saved in the Downloads folder.
Solution 3. Using Screencast Tool
The Screencast app is another built-in option for Chromebooks that makes recording tutorials, lessons, or walkthroughs super simple and convenient. It offers more features than the basic Screen Capture tool, such as easy ways to share your recordings, as well as to access them.
▼ Steps to Record Chromebook Screen with Screencast Tool:
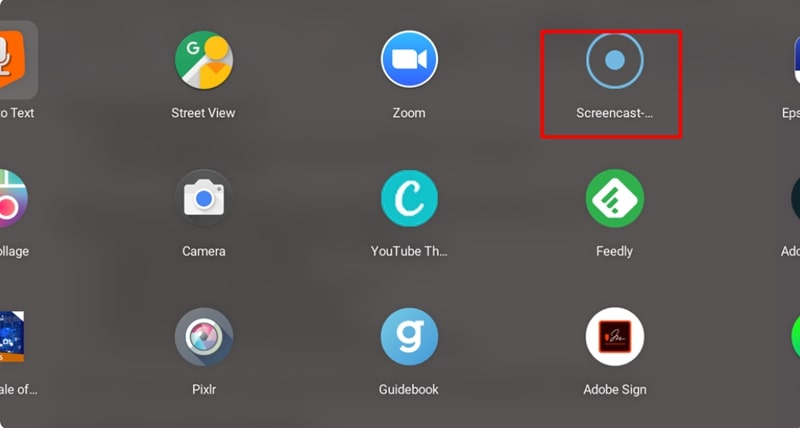
Step 1: Launch the Screencast app from your Chromebook’s app launcher.
Step 2: Tap New Recording to start the screen recorder settings.
Step 3: Select your recording options, area to capture, audio source, and video quality.
Step 4: Enable the microphone from the settings tab if you want to record audio.
Step 5: Tap Start Recording to capture your screen.
Step 6: Click on the Stop button of the Screencast app once done.
Step 7: Open the saved recording file in the Screencast app and view, edit, or share.
Part 2: Screen Record on Chromebook with Browser Extension
If the built-in tools feel limited, you can try extensions that have some enhanced features, such as cloud storage, instant sharing, editing, and others. Below, we will review two of the most popular screen recorders with audio that work on your Chromebook.
1. Screencastify – Screen Video Recorder
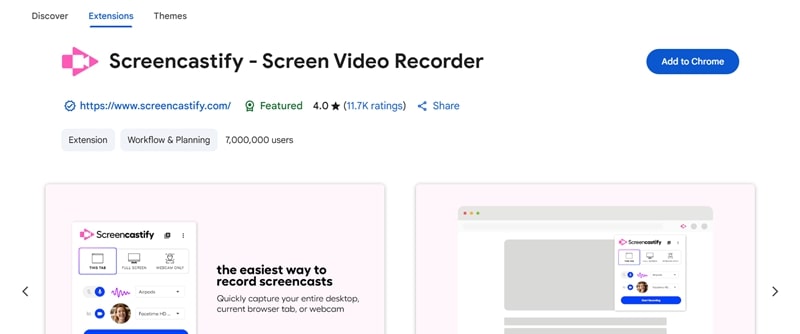
Screencastify is one of the most downloaded Chrome extensions for recording the screen on your Chromebook. It is very easy to use and has an array of features that you are sure to find useful. It can record your lessons, presentations, gameplay, or create tutorials for your YouTube channel, and the audio will be crystal clear. It does not lag or stutter while recording and automatically uploads your recordings to Google Drive, so you can quickly share or edit them.
▼ Steps to Use Screencastify to Record Screen on Chromebook:
Step 1: Download the Screencastify extension from the Chrome Web Store and pin it to the browser toolbar.
Step 2: Click on the Screencastify icon on your toolbar and provide the necessary permissions for the microphone and screen recording.
Step 3: Select the mode you want to use: Record a browser tab, record the desktop, or webcam.
Step 4: Click Record to start and Stop when you are finished recording.
Step 5: Access, edit, or share your recording using Screencastify’s dashboard.
2. Screen Recorder for Google Chrome
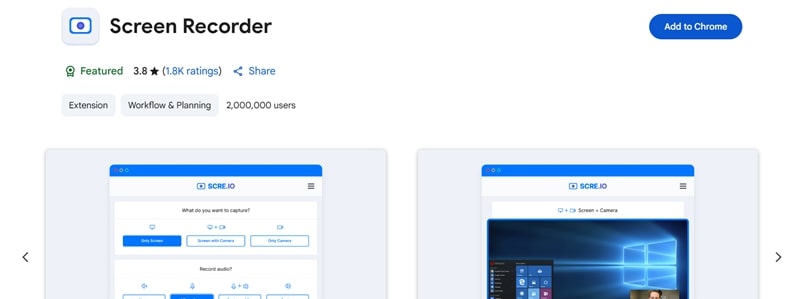
Screen Recorder for Google Chrome is a hassle-free option for anyone who just wants to start recording in seconds, no sign-ups, no complicated settings. It’s lightweight, runs smoothly on Chromebooks, and allows you to capture your full screen, a specific window, or a browser tab, with audio. It’s Perfect for quick demos, walkthroughs, or just saving online content for offline use.
▼ Steps to Use Screen Recorder for Google Chrome:
Step 1: Add Screen Recorder for Google Chrome from the Chrome Web Store.
Step 2: Click its icon and configure your recording preferences screen area, audio, or webcam.
Step 3: Hit Start Recording to begin.
Step 4: Click Stop Recording when you are done and save the file locally or to cloud storage.
Bonus Tip: How to Download Video from YouTube on Chromebook?
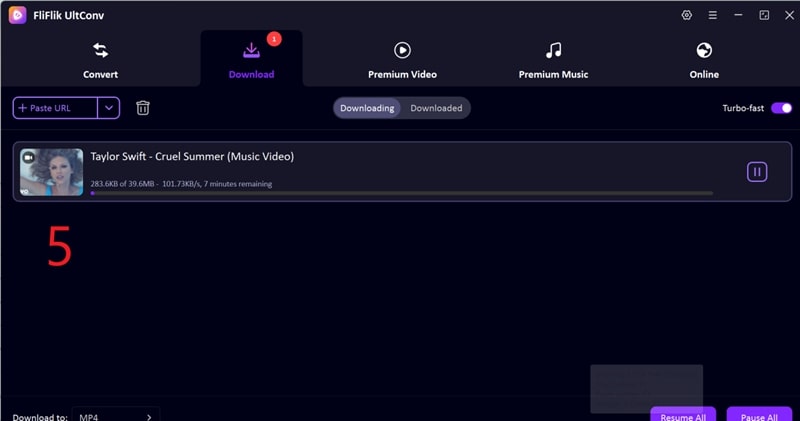
Recording your screen is a good option, but sometimes you might want to save a YouTube video. FliFlik UltConv Video Downloader is a simple tool for Mac and Windows to save videos from over 10,000+ websites, like YouTube, Vimeo, Amazon Prime Video, Dailymotion, and more. With high-speed downloads and many format options, it’s an easy way to save any single video, full playlist, or even music from any supported website.

- Download multiple videos and songs at a time in MP4, MP3, and over 100+ formats.
- Download entire playlists, channels, and albums from streaming sites at once.
- Convert video to audio with no quality loss.
- Download videos in 4K, 2K, 1080p and audio in 320kbps for an optimal viewing/listening experience.
▼ How to Download YouTube Videos on Chromebook Using UltConv Video Downloader:
-
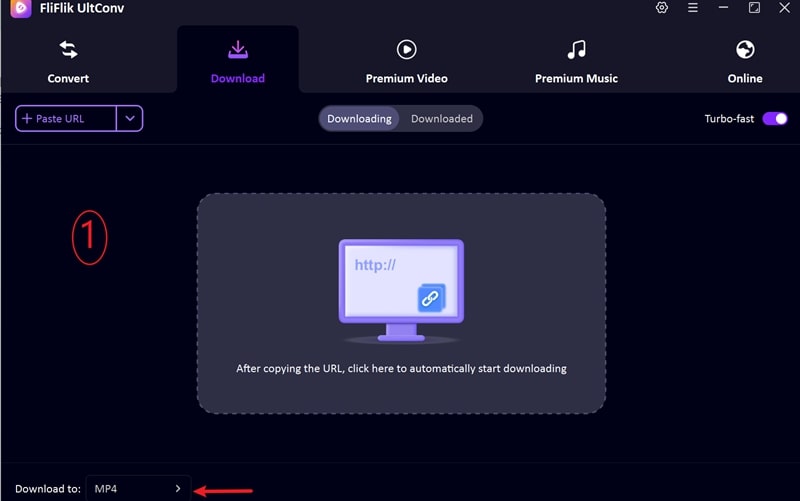
1 Download & Launch FliFlik UltConv Video Downloader for Mac or Windows PC. In the main window, click the “Download To” button to choose the output format.
![download videos with ultconv video converter]()
-
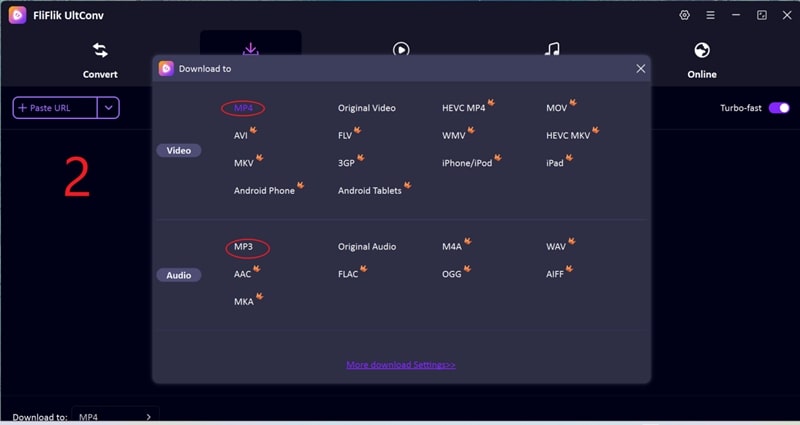
2 Choose the output format of your choice. MP4 for video and MP3 for audio files.
![download youtube videos with ultconv video converter to any format]()
-
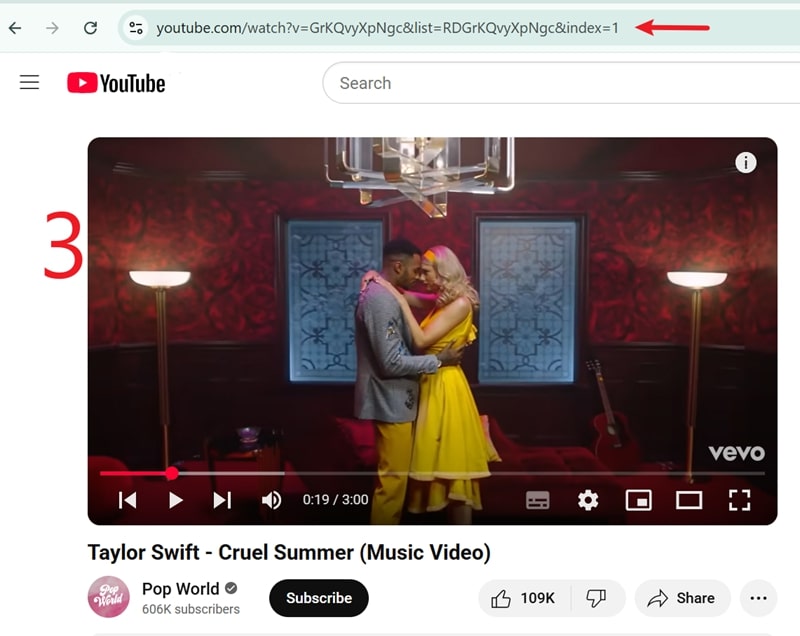
3 Launch YouTube, copy the link of the video, playlist or channel you wish to download and return to UltConv.
![copy youtube video url to download]()
-
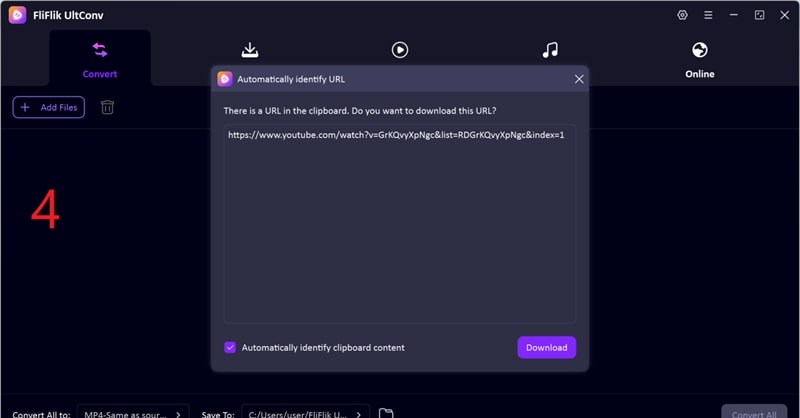
4 If the application recognises the copied link, it will automatically open a preview pop-up. Click Download to start the download.
![download youtube videos with ultconv video conveter on pc]()
-
5 If no pop-up appears, manually paste the link into the URL field and press Download. Your video/audio will be ready for offline access in a few seconds.
![download youtube videos with ultconv video conveter offline]()
Conclusion
Screen recording on a Chromebook is a useful skill that can make online learning, content creation, and troubleshooting easier. From keyboard shortcuts to the powerful Screencast app and browser extensions like Screencastify, you have plenty of ways to record your screen with or without audio.
And if you want to go a step further and actually download videos or music instead of just recording them, you can’t go wrong with FliFlik UltConv Video Downloader. It’s one of the fastest, most reliable, and most versatile tools around, offering full support for multiple formats so you can download YouTube videos, playlists, and even entire channels with ease. With these tools, you’ll be ready to record, save and enjoy your content in no time.
FAQs
Q. How to screen record on Chromebook with internal audio?
Chromebooks don’t support native internal audio screen capture in most cases due to built-in system restrictions. However, you can enable microphone recording in the Screen Capture/Screencast app and use the built-in system microphone. Extensions like Screencastify offer integrated system audio capture on supported devices.
Q. How to download videos from YouTube to MP3 on Chromebook?
Install a solid downloader such as FliFlik UltConv on your connected PC or Mac. Download your video, choose MP3 as the output format, and transfer the file to your Chromebook.

